Recently, I've been finding that social networking sites can be a useful way of keeping up my focus and enthusiasm, and discovering what's happening locally in the arts. I've been able to discuss assessments and presentation with other OCA textile students on Facebook and chatrooms and found out from one of them about a free textile workshop in Manchester. It's inspired by Alan Turing and looking at patterns in nature. We'll be creating a textile piece from a sketch so this will be relevant to the next part of my assignment. There's also been an arts festival in my home town. By liking the festival Facebook page, I was first to hear about events and I booked to learn needle felting. Today the kids are back at school. Mixed feelings about this as it's been lovely spending time with them and not having school runs and homework to deal with but it's been very difficult to get any coursework in amongst all the entertaining, feeding and bickering. Doing workshops and getting creative with the kids has kept me smiling. We did some knitting and lino printing and decided to join in with the Blood Bag Project - the community project that I mentioned in my degree show post. Below are the links to the bags we created. We'll be looking forward to seeing them displayed at the Lawrence Batley Theatre this weekend as part of the HOST Artists Open Studio Trail.
Needle felting was another of Anne Brooke's workshops. She began by demonstrating 2-D and 3-D techniques and explained how to work safely before letting us loose with the needles. She showed us how to pull a small handful of fibres from the bags of merino wool tops and layer them (cutting gives a harsh edge that is difficult to work in). 2-D pictures could be created by stabbing the fibres at right angles onto a pre-felt background. Fine, open weave fabrics like organza can also be worked in, also Angelina fibres to give shimmer. No stitches are needed unless you want to embellish the final 'drawing' at the end. Sometimes, just felting in part of the fibre and leaving ends trailing can look very effective, particularly with tops from the interesting curly fleeces.
High density garden kneelers were a good low cost substitute to protect the table. Although they did start to crumble a little after a while, the tiny foam crumbs were easily brushed off the work. I tried a single 32 gauge general purpose needle (for fine detail 40 would be better). Purpose made tools that hold multiple needles can be bought to speed up the process but Anne told us that three needles held together with a hair bobble works pretty well too. 3-D pieces can be started by taking a ball of fibres in your hand, moulding it to the general shape then continually stabbing, moulding and rotating it. The ball will shrink considerably, to perhaps about half the original size, and even a ping pong ball size could take an hour to felt. Shapes can also be made by putting the fibres in moulds like ice cube trays. I tried simply laying the fibres in a cookie cutter, which was a good way to protect my fingers - many plasters were used that day.
 |
| First attempt at needlefelting, using a cookie cutter |
I would stab at the fibres for a few minutes, then turn the whole thing over and stab from the other side. Gradually the wool fibres mesh with each other and go from soft to firm. When the shape felt solid, I worked just inside the edges of the cutter to firm up the edges, then took out the piece and carefully worked at right angles into the edges.
 |
| The merino fibres are beginning to mesh together |
I chose some organza to work in and found I needed a few wool fibres over the top to hold it in place. Wrapping the organza around the edges helped to firm up the sides of the shape. It's tricky to know when to stop but Anne suggested it's when you can't pull fibres out easily.
 |
| I began to add some snippets of organza. Shape has lost definition, more like a 3 horned cow than a reindeer |
I attached a hanging loop and collar by taking a few fibres, beginning to felt them separately into a little strip then placing the strip over the loop on the back and stabbing through both. I had to be careful not to go right through to other side as the red fibres would have begun to poke through the gold collar.
 |
| Finished creature with it's angel friend |
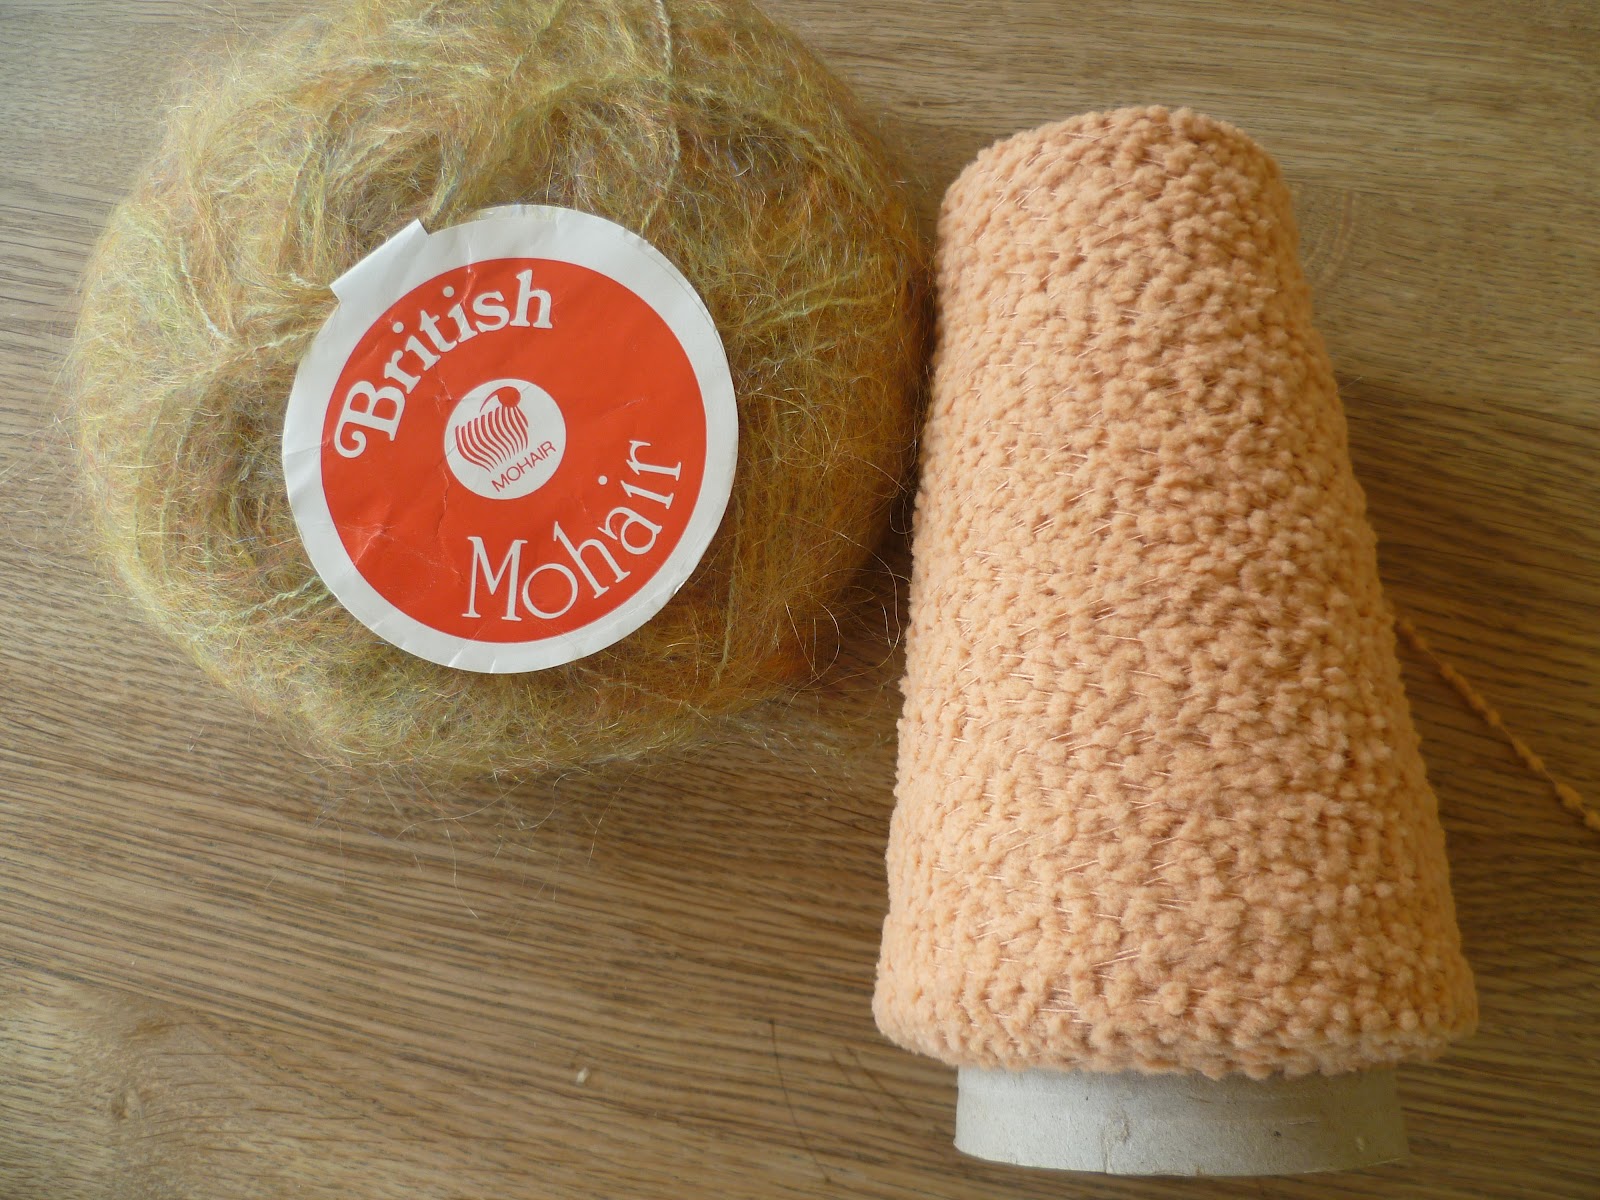
Anne has more photos and posted about the workshop on her blog. It shows the wide variety of samples created. It's a diverse technique with many possibilities that I'd like to look into further in future, particularly after my trip to Texere Yarns last weekend where I picked up a load of half price bags of interesting fibres that I could felt with. I also have some mulberry silk and cocoon strippings with the idea of making some paper to stitch into following my stitched collage experiments and some I haven't a clue about yet but really couldn't resist - some possum and a bag of camel hair!
 |
| Lots of new fibres to play with, including possum and camel! |
Texere were having the second free yarn giveaway. This free stuff is often fine yarn on single cones, perhaps of a dubious shade or smell but for an experimenting textile student that's no problem. Unfortunately I saw a flash from a speed camera in my excitement to get there and overspent on other sale items, so had some explaining to do by the time I came home! Here are some of my purchases.
 |
| The seaside rug shortly before I finished |
 |
| Trying some unlikely combinations |
Empty cones are not something I'd usually spend money on but I bought these as the surfaces felt interesting and I want to try printing with them. The idea came to me because of some mark making on a recent workshop. Last month, I'd spotted on the West Yorkshire Print Workshops Facebook status that they were hosting an event for the Lawrence Batley Theatre, who have been awarded a lottery grant to deliver a massive programme of events for the community. The two-day workshop was 'Make a Mark' and this was the description:
'Work with textile designer Laura Slater on this two day workshop and explore creative approaches to drawing, mark making and simple block printing techniques to develop into screen printed textiles. A great workshop for beginners to gain experience of the design process through experimentation with drawing, mark marking tools and media. Further develop your inspiration through both stencil and photographic screen printing techniques onto cloth.'
The timing was ideal for my current project, which is all about developing design ideas and printing experiments. The subsidised cost of the workshop made it affordable so I booked straight away.
Make a Mark Workshop
After introductions, we started with a bit of mark making using a variety of tools and found objects with black ink and paint, similar to the exercises in Project 1. I found that the ink (Brian Clegg Waterproof Drawing Ink) left nice painterly marks but was too grey and would not be opaque enough for transferring to acetate to make a kodatrace for screen printing. The paint on its own dried very quickly so the marks were scratchy. I knew from the Introduction to Printmaking Course I did a few months ago that marks for screen printing need not necessarily be crisp, but tonal images don't work well. Mixing a little paint (System 3 Acrylic) into the ink gave the qualities I desired.
 |
| Mark making |
Thinking about 'making space move', two effective tools that I hadn't used before were a plastic hair comb dipped in paint and rocked back and forward and the cardboard inner tube from sellotape. With the edges inked up and used as a stamp, the ring could be squeezed and manipulated and the overlapping shapes made a dynamic design.
Next we had a go at block printing. Before the workshop, I'd done some preparation, working from the garden gate sample. The original sample hadn't worked well texturally but I did like the shapes. This was the same starting point I used last month in the stitched collage workshop and I wanted to explore it further. I used different shaped viewing frames over the sample.
 |
| Using viewing frames to isolate interesting areas |
We used a product called 'Safeprint' (also called Press Print). This came in tiles that could be cut to shape and it looked and felt like the polystyrene disc you get under a home cook pizza. It was very easy to carve lines into it or to press items into it. It only took a few minutes to impress my design, using a pencil for the lines and the end of a skewer plus a plastic coffee stirrer for the differently sized holes. It's harder to get clean lines than with lino and the surface is slightly textured, so the uncut areas do not print a totally flat colour. It's not easy to control the depth of your lines and there are none of the carving marks that can be desirable with lino chiseled at varying depths. Also as it's pretty thin, it was tricky to lift small blocks off the paper without getting inky smudges. Safeprint is a cheaper quicker alternative, though I found the tiles are not very hardwearing for repeats. They had a tendency to split along my carving lines after a few prints. Once this started to happen, I decided to cut along some of the lines to make irregular shaped blocks. This created some exciting shapes with infinite possibilities of arrangement and repeats.
 |
| Inking up the pressprint tile |
To
ink the tile we used water based block printing ink rolled out onto a large
piece of plexiglass. The surface seemed slightly porous compared to lino and I
needed to roll the ink on the tile quite thickly to get a good print. I found
that pressing the paper onto the tile then using a clean roller on the back of
the paper gave the best quality prints.
 |
| Experimenting with repeats and cutting up tiles along shape lines |
After lunch we began working on designs for screen prints. I scaled up two of my square designs, left out the backgrounds and just concentrated on the bold shapes on the foreground. I decided to extend and curve some of the lines so that any side of the tile could be placed next to the other to create a continuous design and I could experiment with patterns. When I was happy, I redrew the shapes and painted them in with black acrylic. Some of the edges looked a bit feathery so I used a black permanent marker to make them crisper for screen-printing. The black areas are where the paint will penetrate the screen.
 |
| Extending shapes and re-drawing so that any side of the first square can be placed adjacent to the second to make a new continuous pattern |
As I wanted to try layering some of my prints, I thought I'd stick the same theme but change the scale. This was a good time to photocopy the two square designs onto acetate creating the kodatrace. I could then place them above my other drawings and make decisions on what I thought might work. I chose an area of the block printing I'd done, photocopied it twice, stuck the pieces together, copied this onto acetate and trimmed it down to the same size as the other squares.
 |
| Block print copied and transferred to acetate for Koda trace |
Before leaving for the night, we were handed screens to prep ready for the morning. Wearing gloves and using a squeegee, we spread the green gooey light-sensitive emulsion (think brand was Speedball) evenly over our screens. You need to work fairly quickly so that the screen doesn't begin to expose and you can scrape the excess emulsion back into the pot to save waste. As soon as the screens were covered, we put them in a dark room to dry overnight. Laura thought I could squeeze another design on my large screen so I went home to see what I could find.
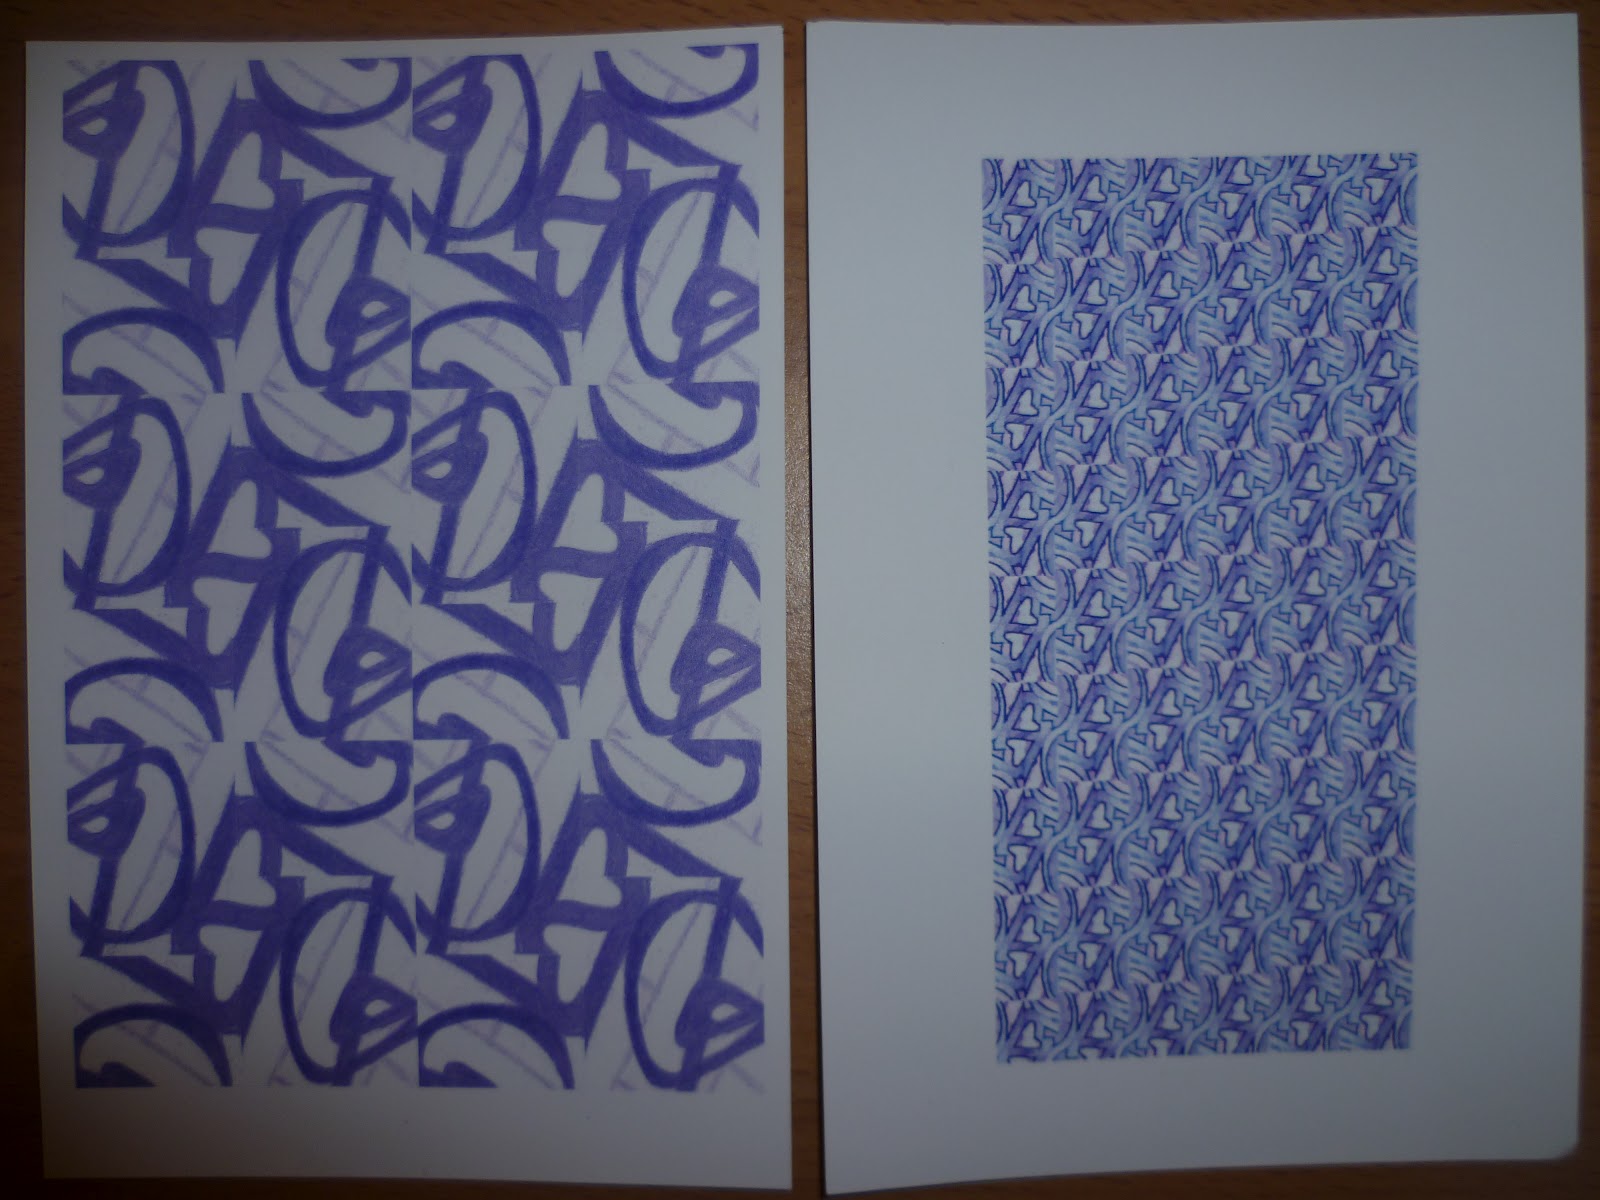
In preparation, I had already scanned my original gate drawings and spent some time experimenting with pattern by cropping, rotating and mirroring the images and adjusting the colours and scale. I decided to use one of the resulting prints.
 |
| I scanned my drawings, cropped, copied and pasted |
 |
| Selecting designs to work on |
I chose the image on the left above, copied it using a pencil and light box, deciding to reverse the light and dark areas, which I coloured in with a black permanent marker. Back at the workshops next morning, I photocopied the image twice, adjusting the scale a little until it felt right then copied it onto acetate. On the acetate, some of the joins between the paper showed up as a thin black line but Laura said we could correct this by painting them out with a little of the light sensitive emulsion after the screens were exposed.
 |
| I made a negative of the drawing I selected |
Once I trimmed my design, I cleaned the glass vacuum table in the dark room with glass cleaner so that no specks of dust would spoil my screen. I carefully arranged my four acetates centrally on the bed (remember black areas will block out the UV and that design goes right way up - esp. important for text). We made sure the light was off then removed our screens from the dark drying room. We were working fairly quickly under low light with the door closed as we didn't want exposure to begin yet. The screen was laid over the top of the acetates, mesh side down and we adjusted the positions to make sure there would be enough room around the edges to spread the ink without it bleeding through the design. We also wanted to make sure we had a squeegee narrow enough to fit inside the frame and wide enough to cover the whole design in one sweep. Once happy, we brought the cover down, locked the edges and pressed the suction button to remove the air, creating a vacuum effect that would hold the screen in place. As it's a 1970s bed, the rubber is getting slightly worn in some places so there was an extra tube to place on the screen frame to help remove the air. Once the screen was securely in place, we rotated the table to face the light source. It took two people to hold the heavy bed as we tilted. Levers and brakes helped to control the movement. There were guide lines on the floor showing exactly where to position the rotated screen.
We left the room (so as not to get sunburnt!), shut the door and turned on the light and timer for precisely 3 minutes. Laura warned us that 10 seconds either side of this exposure time could ruin our screens so we stayed close ready to switch the UV light off. A red light alerts others that a screen is being exposed so that they don't enter. You can see that it's working by the glow of light under the door. After three minutes, we re-entered, needing to make sure that we'd pushed the bed back, tilted it till flat and put the brake on BEFORE turning off the vacuum!
Fortunately everyone's screen seemed to have exposed well and next we had to wash off the excess paste using water from a jet washer (low setting NOT power wash). You could see the residue washing away to reveal the yellow silk of the screen. The screen must be thoroughly cleaned on both sides and completely dry before use and between each print so we put the screens back on the drying room while we mixed the paint. (Used a hairdryer to speed up drying of screen and prints when we wanted to layer.)
 |
| Washing off the light sensitive emulsion with a pressure washer |
While the screens dried we mixed our paint. This was System 3 Acrylic paint which comes in a very wide range of shades and dries quickly. It also seemed to give a slightly translucent effect which could look really good when layering. We mixed it roughly 1:1 with Textile Medium. Ironing heat fixes the print so that it becomes washable and colour fast. As these were experiments and I was concentrating more on shapes, I didn't think too hard about which colours to use and chose quickly.
 |
| Mixing acrylic paint with textile medium |
 |
| Screen all clean, dry and ready to use |
Once dry, the screens were finally ready to use after we'd masked the underside to help prevent leaks. The table was protected with a tight neoprene waterproof covering. Two layers made sure there was a little 'give', necessary for the ink to really push through the screen and give a clean print. We selected fabric. I started with some plain white linen that I taped to the table as taut as possible to avoid the fabric wrinkling. If I do it again, I might prepare the night before by spraying the fabric to dampen it, hoping it will shrink a little as it dries. We made sure there were no stray threads or bumps under the fabric that could affect the printing. The screen was placed over the fabric and the ink spread with a spoon in a thickish layer at the top. Either you need someone to hold the frame still for you or place extremely heavy weights on while you dip the squeegee in at a right angle. Rock it slightly then tilt the top slightly towards you. Pull firmly and quickly backwards and forwards. About three times was right for this paint and fabric combination but other fabrics needed six pulls and pushes. Some of my earlier prints were not as even as I'd have liked. Experience tells you how much ink to use and how many times you will need to pull the the squeegee. Lifting the screen off was really exciting, seeing how well they've worked.
 |
| My first print |
Next it was a matter of putting the excess pigment from the screen and squeegee back in the pot (tilt and pull lip of yogurt pot up flexible edge of squeegee), drying the fabric, cleaning and drying the screen and working out what to try next. Firstly I wanted to rotate the screen and try different scale prints on top each other, then try some colour combinations. I had a few hours to try as many as I could but could have continued almost indefinitely. I was pleased with the variety of samples I produced and liked that if something didn't look quite right you can just overprint and improve it. Although if I was doing it again I'd have maybe measured the distances between them more accurately, I think squares worked well for experimenting as it enabled me to produce more samples in the time I had. By moving the frame along for the second set, I overprinted 2 of the original 4 so had 6 prints to work with. When I came to add a third colour, I had more options on where to place my frame. As the layers built up, if three out of four squares looked good, I could simply cover up the one that I didn't like and tape down a new piece of fabric over the top I ran out of time to try butting the prints up to each other and try some repeats but maybe I can play with this later in the course. The endless possibilities of pattern combinations, layering and colour combinations was quite overwhelming. For future, I would initially limit my colour palette, find the pleasing shape combinations first before even beginning to experiment with colour.
 |
| Second prints - top middle was exciting but bottom middle almost totally obscured print underneath |
 |
| Third prints - did not want to obscure bottom right so decided to tape over and try some calico |
 |
| More combinations - introducing new fabrics including a patterned background |
 |
| Close up of final sample that came alive with the final layer |